
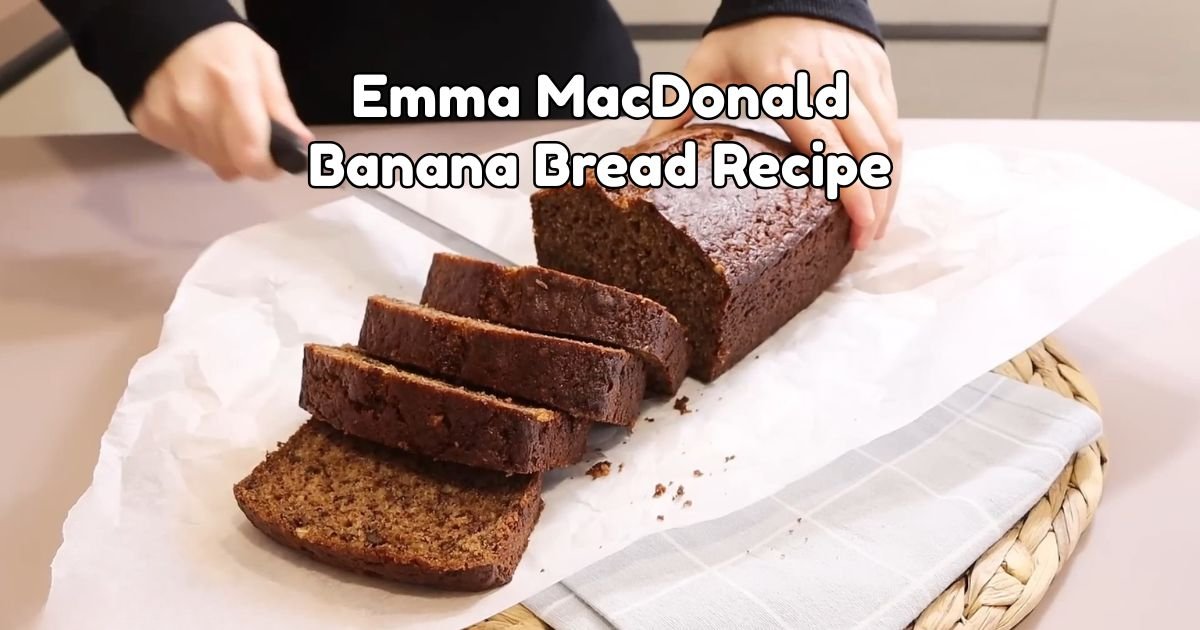
Emma MacDonald Banana Bread Recipe
The Emma MacDonald Banana Bread Recipe is the first thing I bake when the bananas on my counter turn black. I keep a zip bag of spotted ones in the freezer for days I cannot bake.
Banana bread was one of the first things I learned to bake, so I have tried plenty of versions. Most go wrong the same way. Bakers stir too long or slice too soon.
Emma MacDonald’s version has gained a following online. People share it as a loaf with no eggs and no butter.
Why Egg-Free Banana Bread Turns Out Dense
Dense banana bread is the complaint I hear most. It usually comes from stirring after the flour disappears. Extra stirring pushes out the air that the baking powder creates.
Without eggs, the loaf relies on leaveners for lift. Baking powder does the main work, and baking soda reacts with the mild acid in the bananas. A fresh can matters here.
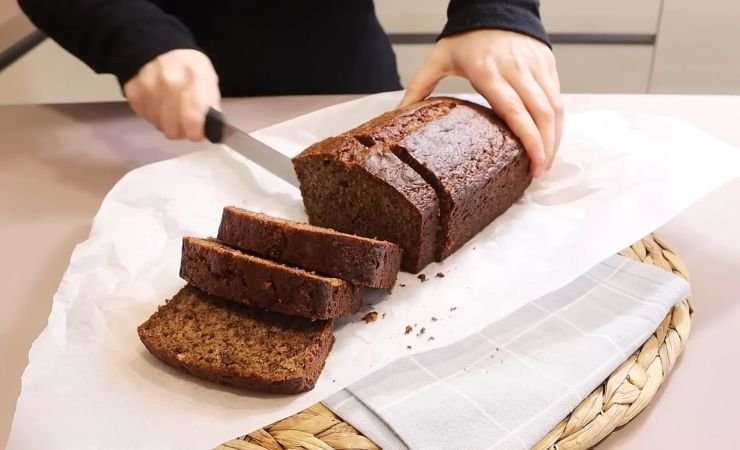
Slicing too early causes the other common failure. Steam is still setting the center, so a hot slice turns gummy and tears.
This loaf needs no mixer and no butter to cream. Two bowls, a whisk, and a spatula do all the work.
Is This Gluten-Free Banana Bread Safe for Everyone
The loaf uses gluten-free flour, but oat flour is the catch. Oats are often processed near wheat. Anyone with celiac disease should buy certified gluten-free oat flour.
Gluten-free blends also vary by brand. Some contain xanthan gum and others do not. Check the label, since the gum helps the batter hold together.
Coconut oil and walnuts matter for allergies. Skip the walnuts for tree nut allergies, and use avocado oil in place of coconut oil when needed.
Treat this as a sweet loaf, not a health food. Three-quarters of a cup of maple syrup is the main sweetener, so cut smaller slices when watching sugar.
Ingredients for Emma MacDonald Banana Bread
3 Bananas, very ripe: Bananas bring the sweetness and most of the moisture. Pick peels that are mostly black, since the starch has already turned to sugar. I keep a zip bag of spotted ones in the freezer.
Applesauce or mashed avocado can stand in for bananas. Expect a milder flavor, and avocado gives a denser slice.
¾ cup Pure Maple Syrup: Maple syrup sweetens the loaf and keeps it tender through its moisture. Kirkland Signature Organic is the jug I buy. Use pure syrup only, since pancake syrup is mostly corn syrup.
Honey or agave nectar works in place of maple. Honey browns the crust faster, so check the loaf 5 minutes early.
½ cup Melted Coconut Oil: Fat keeps the loaf moist, and unrefined oil adds a faint coconut scent. I use Nutiva. Let the oil cool a few minutes so it does not warm the bananas too much.
Melted butter or avocado oil works in place of coconut oil. Butter adds a dairy note, while avocado oil keeps the flavor neutral.
1 teaspoon Vanilla Extract: Vanilla rounds off the maple so it tastes less sharp. Nielsen-Massey is the bottle I keep. Measure it with a proper spoon, not a splash.
Almond extract or lemon zest can replace vanilla. Use only ½ teaspoon of almond extract, since it is much stronger.
1 cup Gluten-Free Flour: This flour forms the bulk and structure of the loaf. Bob’s Red Mill 1-to-1 Baking Flour is my pick, because it contains xanthan gum to bind the batter. Spoon it into the cup and level it.
All-purpose flour works in place of it, though the loaf is then no longer gluten-free.
1 cup Oat Flour: Oat flour adds a nutty flavor and keeps the inside soft. I buy Bob’s Red Mill gluten-free oat flour. Measure it after blending, not before.
Blend rolled oats in a blender until powdery for homemade oat flour. Choose certified gluten-free oats for guests with celiac disease.
1 teaspoon Baking Powder: Baking powder gives the main lift in a loaf with no eggs. I use Rumford, which is aluminum-free. Check the date on the can, since old powder is a common reason loaves stay flat.
1 teaspoon Baking Soda: Baking soda reacts with the mild acid in the bananas for extra lift and browning. Arm & Hammer is the box I keep. Level it off, since too much leaves a soapy aftertaste.
1 tablespoon Ground Cinnamon: A full tablespoon gives the loaf a warm, spiced backbone against the maple. Simply Organic is my jar. Nutmeg or cardamom works in place of cinnamon at half the amount, since both are stronger.
½ teaspoon Sea Salt: Salt sharpens the banana flavor and tones down the sugar. Morton fine sea salt dissolves evenly. Coarse flakes leave salty pockets, so grind them first.
½ cup Chocolate Chips (optional): Chips add melting pockets of chocolate that offset the banana. Ghirardelli semi-sweet are the ones I reach for. Toss them in a spoonful of the dry mix to keep them from sinking.
Chopped nuts or dried fruit work in place of chips.
½ cup Chopped Walnuts (optional): Walnuts add crunch and a slight bitterness that balances the maple. Diamond of California is my brand. Toast them for 6 minutes at 350°F before chopping for a deeper flavor.
Pecans or hazelnuts work in place of walnuts.
Essential Kitchen Tools
- 9×5-inch loaf pan: Light metal bakes evenly
- Parchment paper: Lifts the loaf out
- Blender or food processor: Grinds oats into flour
- Mixing bowls: One wet, one dry
- Measuring cups and spoons: Leaveners need accuracy
- Fork: Mashes the bananas
- Whisk: Smooths the wet mix
- Spatula: Folds without overmixing
- Wire rack: Cools the loaf
How to Make Emma MacDonald Banana Bread
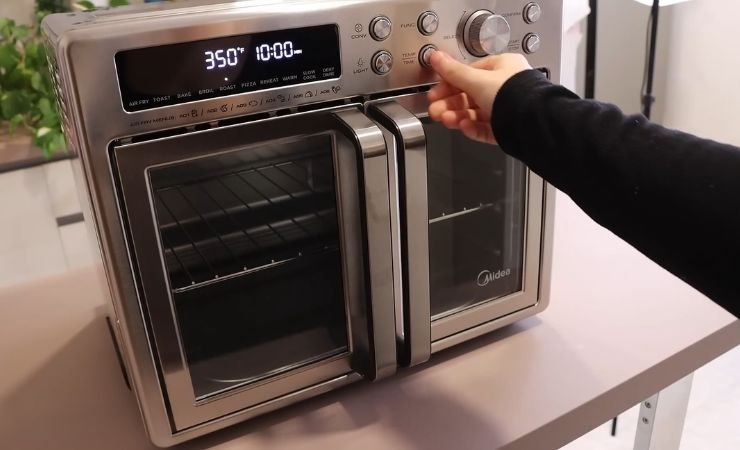
1. Preheat the Oven: Preheat your oven to 350°F (175°C). This helps your bread bake evenly. As the oven heats, you’ll smell the wonderful aroma of banana bread. Don’t let the oven get too hot, as this can burn the bread or cause it to cook unevenly.
2. Prepare the Loaf Pan: Next, line a 9×5-inch loaf pan with parchment paper or grease it with coconut oil. This will help the bread come out easily after baking and stop it from sticking. Your pan is now ready for the batter.
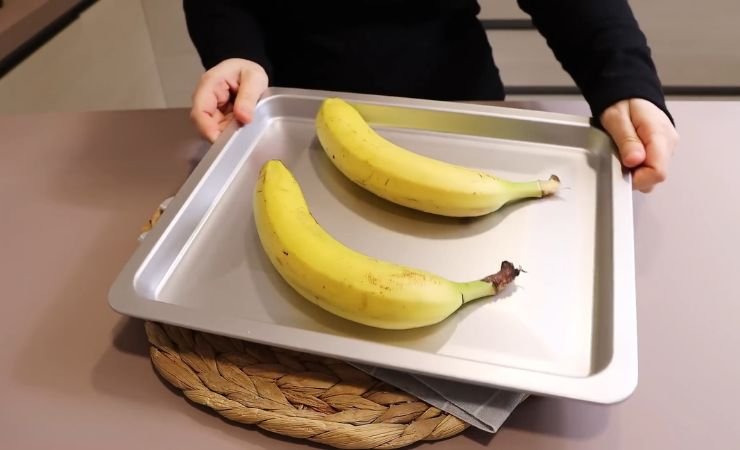
3. Mash the Bananas: In a large bowl, mash 3 ripe bananas with a fork until mostly smooth. While mashing, the bananas will release their sweetness and moisture. Don’t mash too much, or the bread will turn out dense.
4. Combine the Wet Ingredients: Add maple syrup, melted coconut oil, and vanilla extract to the mashed bananas. Whisk everything together until mixed and creamy. The mixture should be smooth and smell sweet.
5. Combine the Dry Ingredients: In another bowl, mix gluten-free flour, oat flour, baking powder, baking soda, cinnamon, and salt. Ensure there are no clumps and that everything is evenly mixed.
6. Mix the Wet and Dry Ingredients: Pour the dry ingredients into the bowl with the wet ingredients. Gently fold them together using a wooden spoon or spatula until just combined. Don’t overmix, as this can make the bread tough. The mixture should be smooth.
7. Fold in the Add-Ins: If you are using chocolate chips and walnuts, gently fold them into the batter now. Make sure they are distributed evenly so every slice has a bit of crunch and sweetness. Be gentle to avoid overworking the batter.
8. Transfer to the Pan: Pour the batter into your prepared loaf pan. Use a spatula to smooth the top and push the batter into the corners so it bakes evenly.
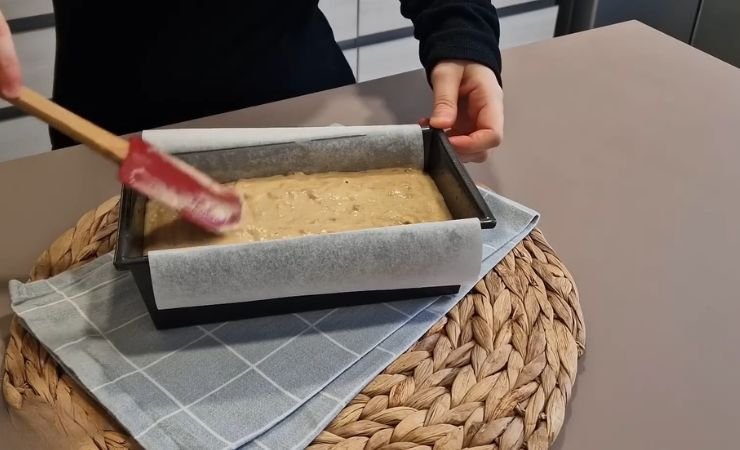
9. Bake the Bread: Place the pan in your preheated oven and bake for 35–40 minutes. It’s ready when the top is deep golden brown and a toothpick inserted in the center comes out clean or with a few moist crumbs, not wet batter.
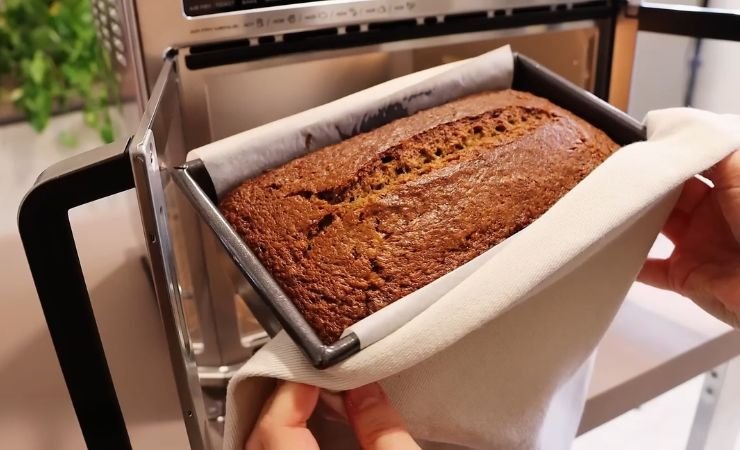
10. Cool the Bread: Once baked, remove the pan from the oven and let the bread cool in it for 10–15 minutes. Then carefully transfer the loaf to a wire rack to cool completely before slicing. This step is important; slicing too early can make the bread crumble or feel gummy inside.
Expert Tips for the Best Results
1. Sunken Middle: Keep the oven door shut for the first 30 minutes. An early peek drops the temperature and the center collapses.
2. Gritty Bite: Blend homemade oat flour for a full minute. Let the batter rest 10 minutes before baking, so the flours soak up the liquid.
3. Greasy Bottom: Whisk the wet mix until glossy before folding. Oil that has not blended pools at the base.
4. Burnt Nuts on Top: Fold walnuts into the batter instead of sprinkling them over the top, where the heat scorches them.
5. Raw Streaks at the Bottom: Scrape the bottom of the bowl while folding. Dry flour hides in the corners.
6. Pale Top: Move the pan up one rack for the last 5 minutes to deepen the color.
Easy Banana Bread Variations to Try
Dark Chocolate: Use 1 cup of dark chocolate chips in place of the ½ cup. The extra bitterness cuts the maple sweetness. I serve it as dessert with vanilla ice cream.
Pecan Crunch: Swap the walnuts for ½ cup toasted pecans. Pecans are softer and sweeter than walnuts, so the crunch is gentler. I pack this one for road trips.
Cinnamon Swirl: Stir 2 tablespoons coconut sugar into 1 teaspoon cinnamon. Sprinkle it over the batter and swirl with a knife. The streaks give a marbled slice. It suits a weekend breakfast with tea.
Peanut Butter Swirl: Drop 2 tablespoons of creamy peanut butter over the batter and swirl once. The salt and fat deepen the flavor. I serve it as an after-school snack.
Orange Zest: Grate the zest of one orange into the wet mix. The citrus oils lift the maple and banana. I pair it with coffee at brunch.
What Can I Serve with Emma MacDonald’s Banana Bread
A warm slice takes a smear of cream cheese or salted butter. Heat the slice for 20 seconds first, so the spread melts into the surface instead of tearing it. Cold butter on a cold slice just sits on top.
Coffee or black tea suits breakfast and snack time. The bitterness of both balances the maple sweetness, so each sip resets the palate before the next bite. An oat milk latte works too.
For dessert, add a scoop of vanilla ice cream and a drizzle of chocolate sauce. The cold scoop melts into the warm slice and pools at the edge of the plate.
For a light supper, I serve a thick slice beside a bowl of soup or a green salad. The sweet loaf plays against the salty broth and sharp dressing. A few walnuts on the side finish the plate.
Storage and Reheating Instructions
Keep the cooled loaf in an airtight container at room temperature for up to 3 days. Line the container with a paper towel to absorb moisture from the cut surface. Replace the towel once it feels damp.
To bake a day ahead, cool the loaf completely, then wrap it tightly. Counter storage beats the refrigerator, which dries out the slices. Wrapped loaves also slice cleaner the next morning.
For longer storage, slice the loaf and wrap the pieces in plastic wrap or foil. Freeze them for up to 2 months. Pieces thaw one at a time, so you never defrost more than you need.
Reheat a slice in a 350°F (175°C) oven for 10 to 15 minutes to crisp the edges. A microwave works in 20 to 30 seconds, but it softens the crust. Frozen slices need a few more minutes.
Frequently Asked Questions
1. Can I use only gluten-free flour?
Yes. Use 2 cups of gluten-free flour in total. The loaf loses the nutty note from the oats and bakes a little paler. Spoon the flour into the cup and level it, so the loaf does not turn dry.
2. Can I use frozen bananas?
Yes. Thaw them fully, then mash them with all the liquid in the bag. That liquid is sweet and belongs in the batter. Skip draining them, or the loaf loses sweetness and moisture.
3. How ripe is too ripe?
Fully black peels are fine, as long as the fruit smells sweet. Throw out bananas with mold or a sour, fermented smell. Soft, leaky fruit mashes easily, which saves you effort at the fork.
4. Can I use an 8×4-inch pan?
Yes, but the loaf bakes taller and slower. Add 5 to 10 minutes and tent with foil once the top browns. Check the center with a toothpick before pulling the loaf out of the oven.
5. What temperature means the loaf is done?
The center should read about 205°F (96°C) on an instant-read thermometer. This beats guessing by color, since coconut oil and maple brown the top early. Insert the probe straight down the middle.
6. Do I need to sift the flours?
No. Whisk them with the leaveners and cinnamon instead. Sift only to break up clumps, which oat flour and cinnamon sometimes form after sitting in the pantry for a few months.
7. Can I make it nut-free?
Yes. Skip the walnuts and check the chocolate chip label for tree nut warnings. Add an extra ¼ cup of chips for richness in place of the crunch. Most plain chips are fine, but labels vary.
8. Does it taste better the next day?
Often, yes. Wrapped overnight, the moisture spreads evenly and the cinnamon settles into the loaf. Slice it the next morning for cleaner edges, and warm each slice briefly before serving.
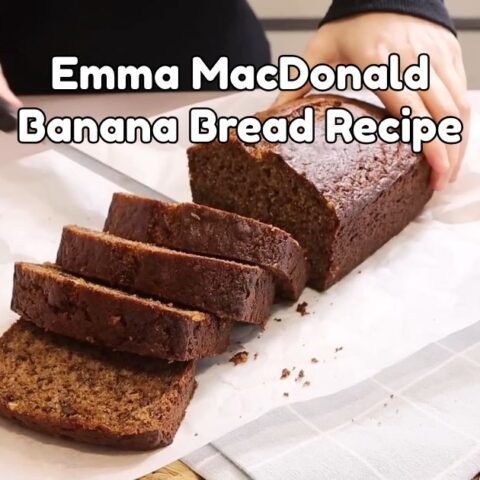
Emma MacDonald Banana Bread Recipe
Emma MacDonald Banana Bread Recipe with ripe bananas, maple syrup, and coconut oil for a moist, flavorful loaf perfect for breakfast.
Ingredients
- 3 ripe bananas, mashed
- ¾ cup pure maple syrup
- ½ cup melted coconut oil
- 1 teaspoon vanilla extract
- 1 cup gluten-free flour
- 1 cup oat flour
- 1 teaspoon baking powder
- 1 teaspoon baking soda
- 1 tablespoon ground cinnamon
- ½ teaspoon sea salt
- ½ cup chocolate chips (optional)
- ½ cup chopped walnuts (optional)
Instructions
- Preheat the Oven: Preheat your oven to 350°F (175°C). This helps your bread bake evenly. As the oven heats, you'll smell the wonderful aroma of banana bread. Don't let the oven get too hot, as this can burn the bread or cause it to cook unevenly.
- Prepare the Loaf Pan: Next, line a 9x5-inch loaf pan with parchment paper or grease it with coconut oil. This will help the bread come out easily after baking and stop it from sticking. Your pan is now ready for the batter.
- Mash the Bananas: In a large bowl, mash 3 ripe bananas with a fork until mostly smooth. While mashing, the bananas will release their sweetness and moisture. Don't mash too much, or the bread will turn out dense.
- Combine the Wet Ingredients: Add maple syrup, melted coconut oil, and vanilla extract to the mashed bananas. Whisk everything together until mixed and creamy. The mixture should be smooth and smell sweet.
- Combine the Dry Ingredients: In another bowl, mix gluten-free flour, oat flour, baking powder, baking soda, cinnamon, and salt. Ensure there are no clumps and that everything is evenly mixed.
- Mix the Wet and Dry Ingredients: Pour the dry ingredients into the bowl with the wet ingredients. Gently fold them together using a wooden spoon or spatula until just combined. Don't overmix, as this can make the bread tough. The mixture should be smooth.
- Fold in the Add-Ins: If you are using chocolate chips and walnuts, gently fold them into the batter now. Make sure they are distributed evenly so every slice has a bit of crunch and sweetness. Be gentle to avoid overworking the batter.
- Transfer to the Pan: Pour the batter into your prepared loaf pan. Use a spatula to smooth the top and push the batter into the corners so it bakes evenly.
- Bake the Bread: Place the pan in your preheated oven and bake for 35–40 minutes. It's ready when the top is deep golden brown and a toothpick inserted in the center comes out clean or with a few moist crumbs, not wet batter.
- Cool the Bread: Once baked, remove the pan from the oven and let the bread cool in it for 10–15 minutes. Then carefully transfer the loaf to a wire rack to cool completely before slicing. This step is important; slicing too early can make the bread crumble or feel gummy inside.
Nutrition Information:
Serving Size: 1Amount Per Serving: Calories: 265
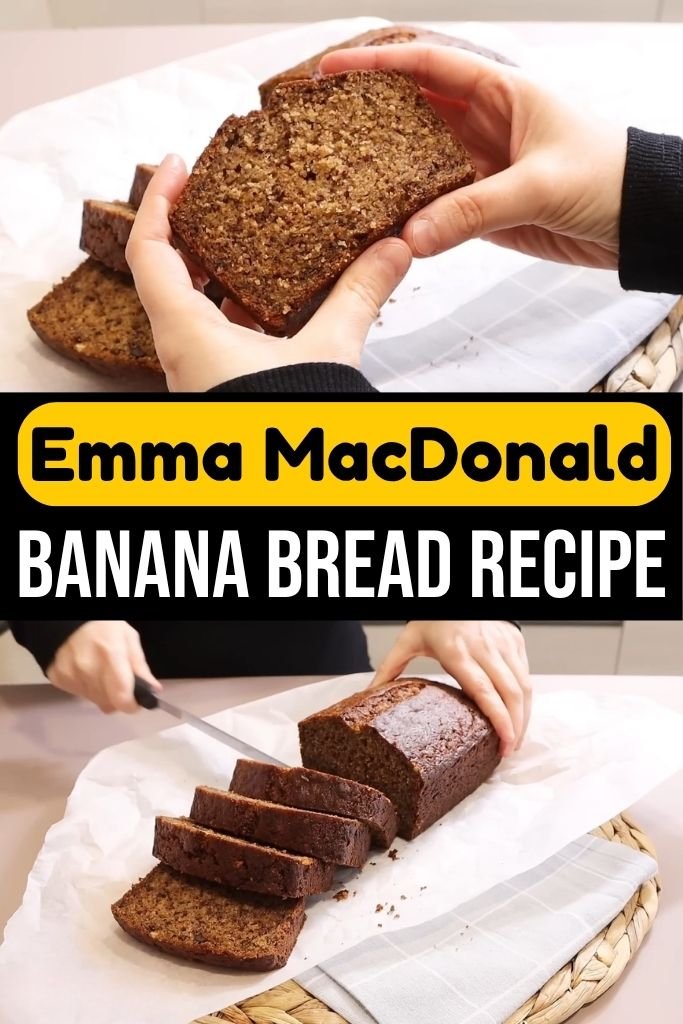
A loaf with deep gold edges and a soft, spiced center is the payoff from black-spotted bananas, a full tablespoon of cinnamon, and a patient cooling rack.



One Comment