
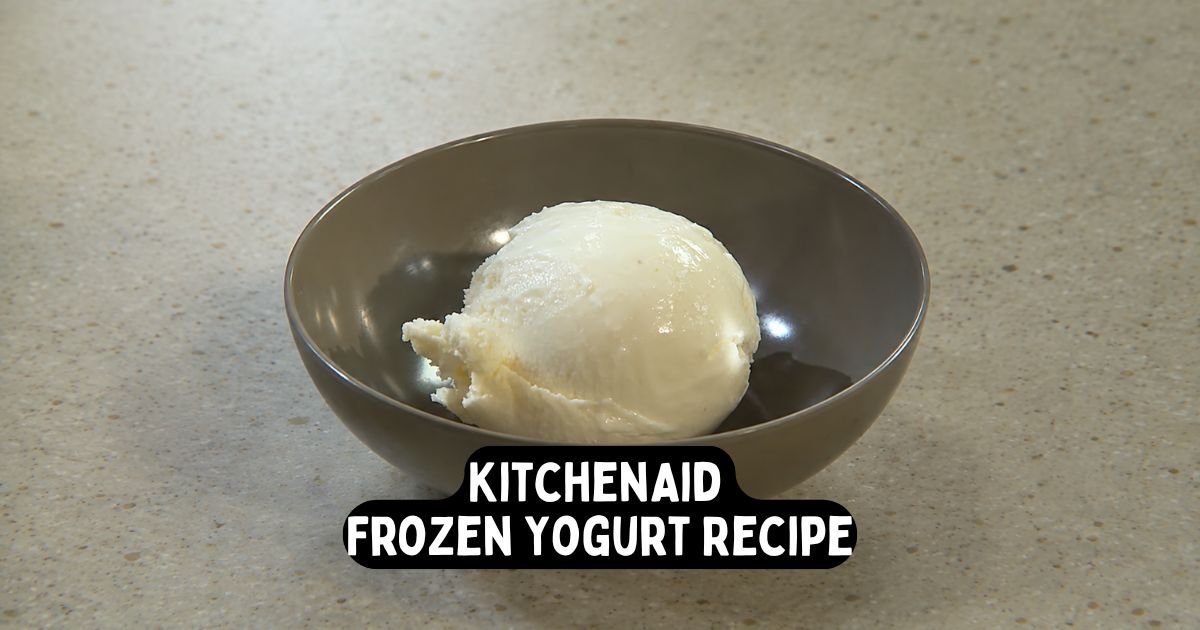
KitchenAid Frozen Yogurt Recipe
Last week, I bought a KitchenAid mixer and started making the KitchenAid Frozen Yogurt Recipe that my neighbor shared with me.
She makes frozen yogurt every weekend during the summer and often sends me a photo before I can even ask, probably to keep me from dropping by uninvited!
I now keep the mixing bowl in my freezer all the time. This makes it easier to make a batch whenever I want. If the bowl isn’t frozen, making the yogurt can take two days instead of just one afternoon. But once the bowl is ready, the rest of the process is quick.
I also keep yogurt and milk in my fridge just for making frozen yogurt, like some people keep ice cream in their freezers. It has quickly become one of my favorite summer treats to make at home.
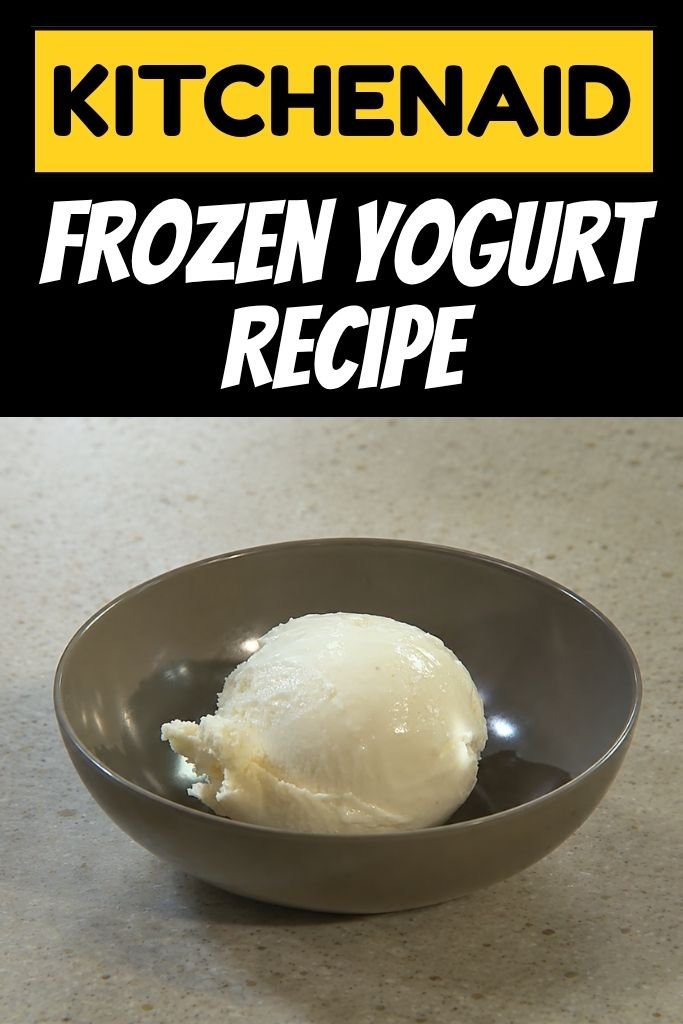
Why Homemade Frozen Yogurt Is Worth Making
I made this Yogurt Recipe because store-bought ice cream often doesn’t taste as fresh or tangy as homemade. It can also cost more for less. When you make it yourself, you can control the sweetness and add-ins better than in stores, where you only have a few flavors to choose from.
You can prepare a batch in under an hour with mostly hands-off work, including chilling time. This yogurt recipe is simple and plain, which is its main benefit.
Unlike many ice cream recipes that focus on one flavor, this neutral base lets you turn it into many different desserts by mixing in ingredients during the last minutes of churning.
Ingredients for KitchenAid Frozen Yogurt
- 2 cups plain yogurt: This is the main ingredient that gives frozen yogurt its tangy flavor. Use full-fat yogurt for a creamier texture because the extra fat helps keep the ice crystals small. Brands like Fage or Chobani work well, but any thick plain yogurt is good.
- 1 cup granulated sugar: Sugar sweetens the yogurt and helps with texture. It lowers the freezing point, making the yogurt easy to scoop instead of rock hard. Use plain white sugar, as it dissolves easily. Mix it well before churning to avoid a gritty texture.
- 1 teaspoon vanilla extract: This adds a warm flavor that balances the tanginess of the yogurt. Choose real vanilla extract, not imitation, for a better taste. Add it to the yogurt mixture before churning to ensure it mixes well.
- 1 cup whole milk: This makes the yogurt base a bit thinner, which helps it churn smoothly. Whole milk keeps the yogurt richer than low-fat options. Be careful with the amount, as too much milk can make the yogurt icy instead of creamy.
- 1 cup mix-ins of your choice (fruit, nuts, or chocolate): These add texture and flavor to the yogurt. Fresh berries, chopped nuts, or mini chocolate chips work well. If you choose larger mix-ins, chop them into smaller pieces so they don’t freeze too hard.
Kitchen Tools for Making Frozen Yogurt
- KitchenAid stand mixer with ice cream attachment: churns and freezes
- Mixing bowl: combines base ingredients
- Measuring cups: measures ingredients accurately
- Rubber spatula: folds in mix-ins
- Freezer-safe container: stores finished yogurt
How to Make KitchenAid Frozen Yogurt
1. Prepare the Ice Cream Bowl: Freeze the KitchenAid ice cream attachment bowl for at least 15 hours before you churn. It’s best to freeze it overnight. The bowl must be completely frozen with no liquid inside; otherwise, your mixture won’t set correctly.
2. Mix the Base: Combine yogurt, sugar, vanilla extract, and milk in a bowl. Whisk until smooth and ensure the sugar is completely dissolved. The mixture should be pourable and feel smooth when you rub a small amount between your fingers.
3. Chill the Mixture: Cover the bowl and refrigerate the mixture for at least 30 minutes before churning. A cold base churns better than a warm one, so don’t skip this step.
4. Start Churning: Attach the frozen bowl to the mixer with the dasher. Turn the mixer to the stir setting. Slowly pour in the chilled base while the machine runs.
5. Churn Until Thick: Let the mixture churn for 20 to 25 minutes until it has a soft-serve consistency and holds its shape when you lift the dasher. If it isn’t thickening after 25 minutes, the bowl might not have been frozen enough. If so, move the mixture to the freezer to firm up.
6. Add Mix-ins: In the last few minutes of churning, add your mix-ins. This allows them to distribute evenly without breaking apart. Stop the machine once everything is well mixed.
7. Transfer and Firm Up: Scoop the frozen yogurt into a container that can go in the freezer. Smooth the top with a spatula. For a firmer texture, let it freeze for another 1 to 2 hours before serving. You can also enjoy it right away for a softer texture.
Troubleshooting Common Frozen Yogurt Problems
- Icy Yogurt: If your frozen yogurt turns out icy instead of creamy, the base may not have been chilled enough before churning. Chill it for at least 30 minutes, or longer if needed, before adding it to the frozen bowl.
- Thin Mixture: If the mixture stays too thin and never thickens properly, the mixing bowl may not be frozen solid. Freeze the bowl for at least 15 hours before using it, and keep it level in the freezer so the freezing liquid inside can solidify evenly.
- Grainy Texture: A grainy texture can happen when the sugar hasn’t fully dissolved into the yogurt mixture. Whisk the base thoroughly before chilling so the sugar is evenly incorporated. Don’t rely on the churning process to dissolve it.
- Rock-Hard Yogurt: If your frozen yogurt becomes very hard after storing it in the freezer, the recipe may not have enough sugar. Sugar helps keep frozen desserts softer and easier to scoop, so avoid reducing the amount unless you’re prepared for a firmer texture.
- Sinking Mix-Ins: If chocolate chips, fruit, or other mix-ins sink to the bottom, they may have been added too early. Wait until the final few minutes of churning, then fold them in so they have a better chance of staying evenly distributed.
- Flat Flavor: If the frozen yogurt tastes a little bland, don’t underestimate the vanilla. In a simple yogurt base, vanilla adds noticeable depth and helps round out the flavor. Use the full teaspoon called for in the recipe rather than reducing or skipping it.
Easy Frozen Yogurt Flavors to Try
1. Vanilla Bean Frozen Yogurt: Scrape the seeds from a whole vanilla bean into the base along with the extract. The tiny flecks of vanilla bean add visual interest along with a deeper flavor than extract alone provides.
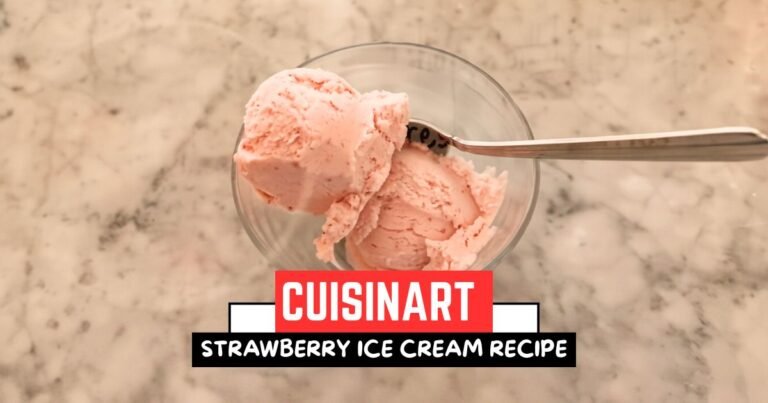
2. Strawberry Frozen Yogurt: Blend a cup of fresh strawberries into a rough puree and stir it into the base before chilling. The color turns a soft pink, and the flavor leans fruity rather than purely tangy.
3. Chocolate Frozen Yogurt: Whisk 3 tablespoons of cocoa powder into the base along with the sugar. This version tastes closer to a tangy chocolate ice cream than a traditional froyo. Top it with a handful of chocolate chips for extra richness.
4. Pistachio Frozen Yogurt: Stir in 2 tablespoons of pistachio paste along with a handful of chopped pistachios as a mix-in. The paste adds both flavor and a light green tint to the base.
5. Seasonal Fruit Frozen Yogurt: Swap in whatever fruit puree is in season, like peaches in summer or roasted pumpkin in the fall. This keeps the base recipe useful year-round rather than locked into one flavor.
What to Serve With Homemade Frozen Yogurt
This frozen yogurt tastes great when served on warm waffles or pancakes. The cold, tangy yogurt contrasts nicely with the warm breakfast underneath.
Adding fresh berries or sliced bananas provides a juicy freshness to the creamy texture. If you prefer a bit of crunch, sprinkle granola or chopped nuts on top.
For a more indulgent treat, serve it with a warm brownie or a few chocolate chip cookies for a richer dessert. Adding crushed pretzels or graham crackers on top brings in a salty flavor that balances the tangy yogurt.
To create a complete dessert spread, offer warm brownies, mixed berries, and a tub of frozen yogurt for everyone to create their own bowl. The tanginess of the yogurt keeps the overall flavor interesting, even with the brownies and berries nearby.
Storing, Freezing & Reusing
Store the frozen yogurt in a tight, freezer-safe container for up to 1 week. Press plastic wrap against the surface before sealing the lid to reduce ice crystals. The yogurt gets harder the longer it stays in the freezer.
If it’s been there for over a day or two, let it sit at room temperature for 5 to 10 minutes before scooping. If it’s frozen solid, run warm water over the outside of the container for a few seconds to soften the edges and make scooping easier.
Do not refreeze yogurt that has completely melted and sat out, as it will become icy and grainy when refrozen. Keep the container towards the back of the freezer, where the temperature stays more constant.
KitchenAid Frozen Yogurt FAQs
1. Can I Make Frozen Yogurt Without the KitchenAid Attachment?
Yes, you can. Pour the chilled base into a shallow container and freeze it. Stir every 30 minutes for the first few hours to break up ice crystals as it firms up. The texture will be a bit less smooth than the churned version, but it will be close.
2. Can I Use Low-Fat or Non-Fat Yogurt?
You can, but the texture will be icier and less creamy than using full-fat yogurt. The fat in full-fat yogurt helps keep the finished product scoopable instead of hard.
3. Why Didn’t My Frozen Yogurt Thicken?
This usually means the ice cream bowl wasn’t fully frozen. Make sure it has been in the freezer for at least 15 hours, and check that nothing sloshes inside it when you shake it gently.
4. Can I Add Mix-Ins After Churning?
Yes, let the yogurt soften a little at room temperature, then fold in the mix-ins by hand before returning it to the freezer. This works well, though adding mix-ins while churning gives a more even distribution.
5. How Do I Know When It’s Done Churning?
Look for a soft-serve consistency, similar to what you get from a soft-serve machine. This usually happens after 20 to 25 minutes. It should hold its shape lightly, not look like a thick liquid.
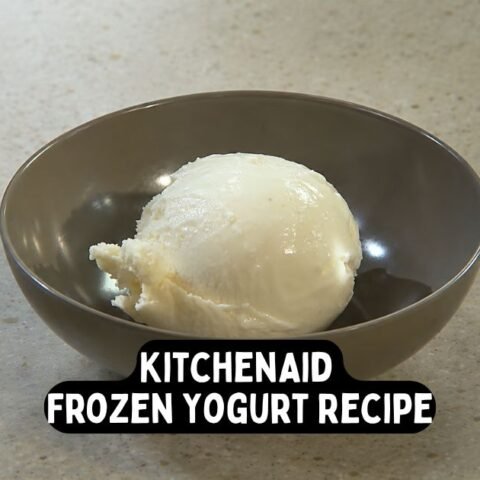
KitchenAid Frozen Yogurt Recipe
Make this easy KitchenAid Frozen Yogurt Recipe with creamy yogurt, milk, vanilla, and your favorite mix-ins for a tangy homemade summer treat.
Ingredients
- 2 cups plain full-fat yogurt
- 1 cup granulated sugar
- 1 teaspoon vanilla extract
- 1 cup whole milk
- 1 cup fruit, nuts, chocolate, or other mix-ins
Instructions
- Prepare the Ice Cream Bowl: Freeze the KitchenAid ice cream attachment bowl for at least 15 hours before you churn. It's best to freeze it overnight. The bowl must be completely frozen with no liquid inside; otherwise, your mixture won't set correctly.
- Mix the Base: Combine yogurt, sugar, vanilla extract, and milk in a bowl. Whisk until smooth and ensure the sugar is completely dissolved. The mixture should be pourable and feel smooth when you rub a small amount between your fingers.
- Chill the Mixture: Cover the bowl and refrigerate the mixture for at least 30 minutes before churning. A cold base churns better than a warm one, so don't skip this step.
- Start Churning: Attach the frozen bowl to the mixer with the dasher. Turn the mixer to the stir setting. Slowly pour in the chilled base while the machine runs.
- Churn Until Thick: Let the mixture churn for 20 to 25 minutes until it has a soft-serve consistency and holds its shape when you lift the dasher. If it isn't thickening after 25 minutes, the bowl might not have been frozen enough. If so, move the mixture to the freezer to firm up.
- Add Mix-ins: In the last few minutes of churning, add your mix-ins. This allows them to distribute evenly without breaking apart. Stop the machine once everything is well mixed.
- Transfer and Firm Up: Scoop the frozen yogurt into a container that can go in the freezer. Smooth the top with a spatula. For a firmer texture, let it freeze for another 1 to 2 hours before serving. You can also enjoy it right away for a softer texture.
Nutrition Information:
Serving Size: 1Amount Per Serving: Calories: 270
This KitchenAid Frozen Yogurt Recipe keeps its tang even with sweeter mix-ins, so it doesn’t taste like plain sweetened ice cream. Making the base takes about ten minutes of work, then the machine does the rest while the mixture chills and churns.
Keeping the bowl in the freezer means you can make a batch any time with just thirty minutes of prep. Once you know the base ratio, swapping in whatever fruit or mix-ins you have becomes easy.

3 Comments