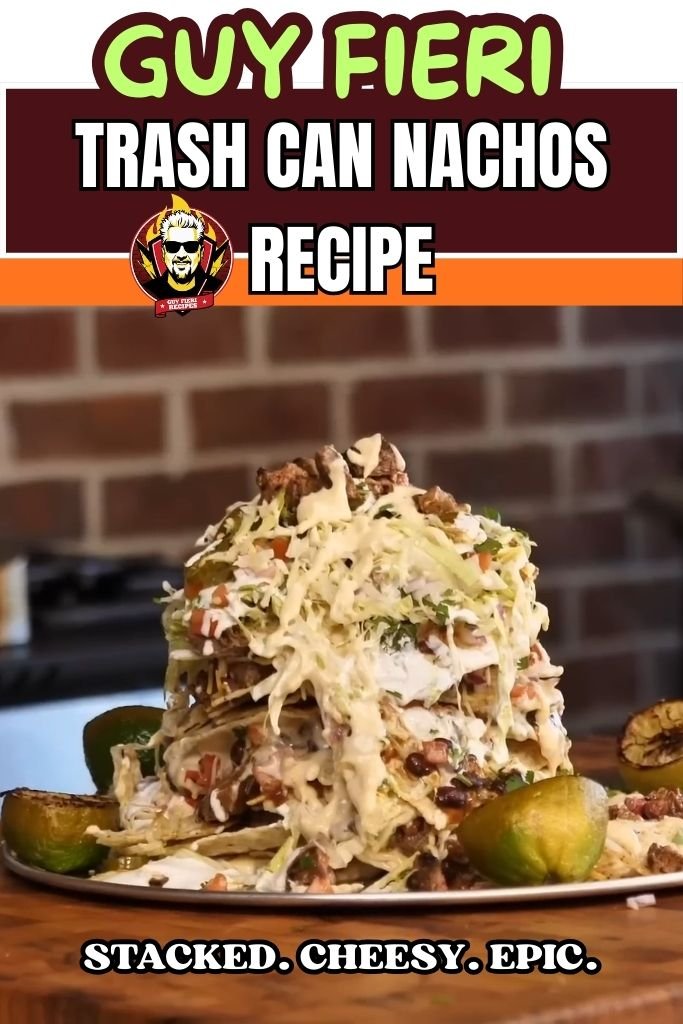
Guy Fieri Trash Can Nachos Recipe
A friend showed me a video of Guy Fieri Trash Can Nachos Recipe, and I was amazed. This dish is unlike any nachos I’ve seen. They pack chips, cheese, meat, beans, and all your favorite toppings into a metal can, then flip it upside down onto a plate. It’s a fun and clever idea.
This dish became popular for a good reason. It looks wild, tastes great, and grabs people’s attention. Guy Fieri has built his brand around bold food, and this recipe shows that perfectly.
What are Guy Fieri Trash Can Nachos?
Trash Can Nachos are not your typical nachos. Instead of spreading chips on a baking sheet with cheese and toppings, you pack layers of chips, cheese, protein, and toppings into a clean metal can.
When you flip the can onto a plate and lift it, the nachos stay stacked. This creates a tasty and eye-catching tower of melted cheese and toppings. It looks impressive and can be a bit messy. Think of it as a nacho layer cake. Each level has its own toppings, ensuring that no chip misses out.
The layers matter. Each bite has chips, cheese, and at least one topping. With regular nachos, the chips on the bottom often have no toppings. But with this method, every layer gets flavor, making it different from other nachos.
The Story Behind Trash Can Nachos
Guy Fieri created a fun dish for his restaurants called “trash can nachos.” It looks like food piled into a trash can, but it tastes great. The “trash can” is just mold and doesn’t get hot.
The name is meant to be playful, not about how the food cooks.
This dish went viral on social media and became one of the most-searched nacho recipes in the United States. It is now a favorite at food festivals, sports events, and Guy Fieri’s restaurants.
Ingredients for Guy Fieri Trash Can Nachos
Tortilla Chips (13 oz): Use thick restaurant-style chips. Thin chips break easily and get soggy with toppings.
Shredded Cheese Blend (3 cups): A mix of sharp cheddar and Monterey Jack melts well and gives a nice pull. I buy the pre-shredded Mexican blend to save time.
Queso Sauce (Optional but Recommended, 1 cup): Pour queso between layers for creaminess. Store-bought queso from Tostitos or Rico’s works great. This adds gooeyness to your nachos.
Shredded BBQ Chicken (2 cups): Cook chicken breast in a slow cooker or a skillet, then shred it and mix with your favorite BBQ sauce. You can also use ground beef.
Turkey Pepperoni (½ cup, sliced): This adds a smoky, salty flavor. Turkey pepperoni is lighter but still tasty. Regular pepperoni works too.
Hickory Baked Beans (1 can, 15 oz): Drain slightly. Baked beans add sweetness and smokiness that go well with BBQ chicken. You can also use black beans or pinto beans for a traditional taco flavor.
Pickled Jalapeños (⅓ cup): These add heat and tang. You can skip these or use fresh jalapeños for more heat.
Sour Cream (½ cup, for drizzling after): This adds coolness right before serving. Drizzle it on top after lifting the pan for a clean look. You can also use plain Greek yogurt for the same tang with more protein.
Salsa (½ cup): This adds brightness and freshness. I quickly make mine with diced tomatoes, white onion, cilantro, and lime juice. Store-bought salsa works well too.
Guacamole (½ cup): This gives a creamy texture. Spoon it on after serving. Use two ripe avocados, lime, salt, and a little garlic.
Tools I Recommend for This Recipe
- Clean a coffee can or a large tomato can – Make sure it is smooth on both sides.
- Baking sheet with edges – This will catch any melted cheese.
- Parchment paper – This prevents sticking.
- Sharp knife and can opener – Use these for safe can preparation.
- Small spatula – This helps lift the first servings without breaking the tower.
How to Make Trash Can Nachos
1. Prepare Everything: First, wash the can with soap and hot water. Remove the label and check for any sharp edges. Wrap the outside with foil to stop sticking. Preheat the oven to 375 degrees while you prepare the nachos.
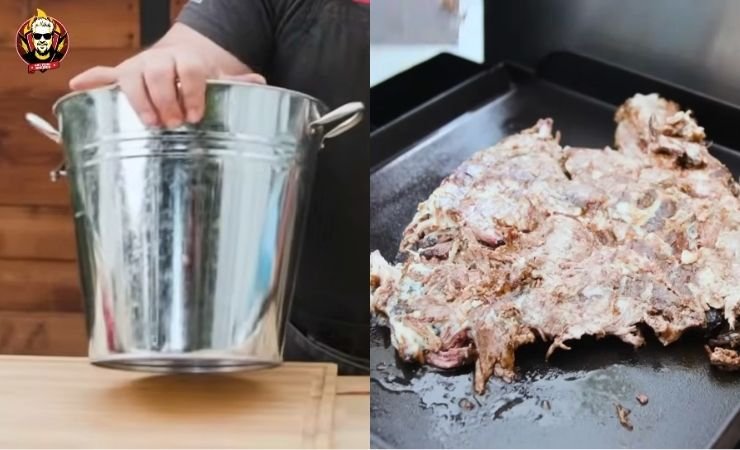
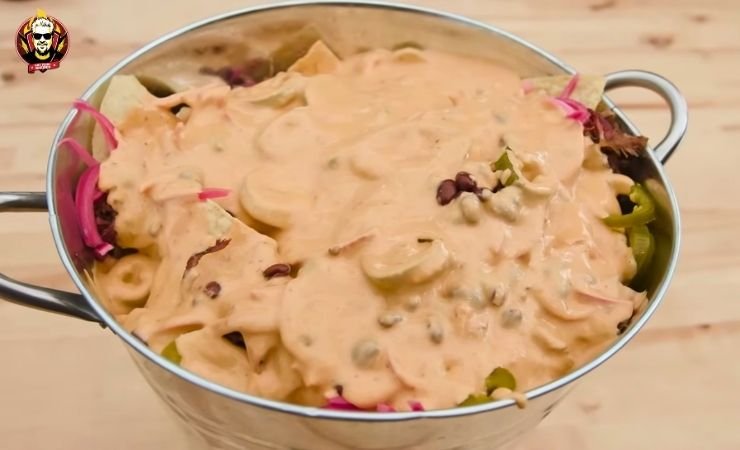
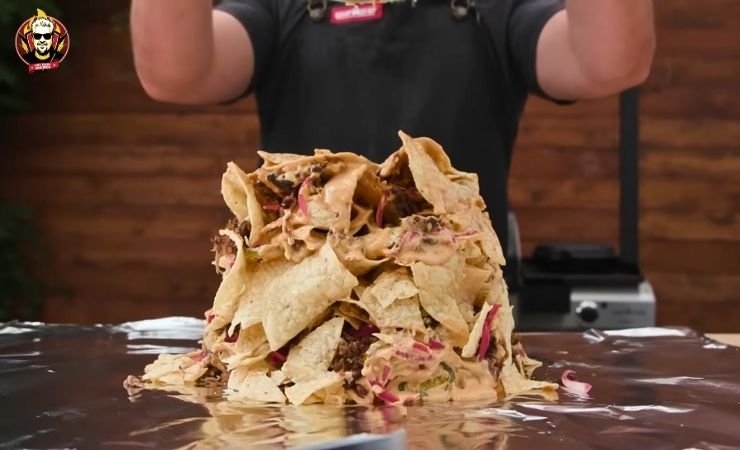
2. Start Layering: Place the can upright on a baking sheet. Add a handful of chips inside and press them down gently. Then, add chicken, beans, pepperoni, and cheese on top. Sprinkle in some seasoning, but don’t pack it too tightly. Keep adding layers of chips and toppings until the can is full. Lightly press down after each layer.
3. Bake: Put the baking sheet in the oven. Bake for 15 to 20 minutes until the cheese is melted and bubbly. Carefully remove the baking sheet from the oven. Let it sit for 2 minutes. Use a towel to grab the can and lift it straight up. The tower should stay together.
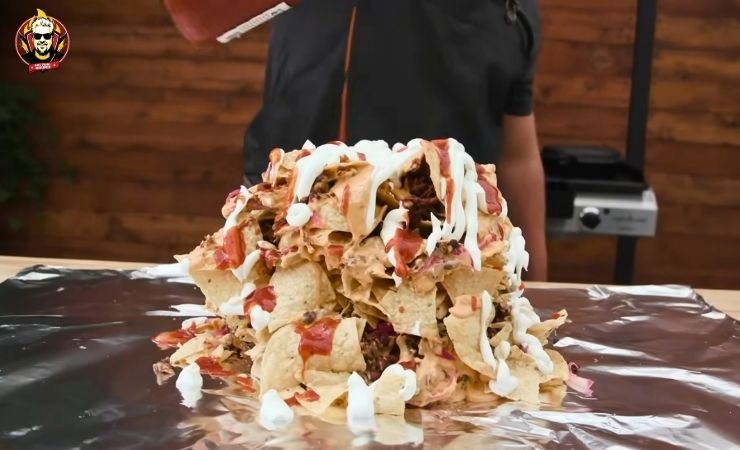
4. Add Fresh Toppings: Top with sour cream, tomatoes, and jalapeños. Serve immediately while it’s hot.
Tips, Tricks, and Common Mistakes to Avoid
1. Add wet toppings last: Put toppings like pico de gallo, sour cream, and guacamole on the nachos after you flip them. If you add them inside the can, the chips will get soggy.
2. Flip confidently: Flip the nachos in a single smooth motion to prevent them from falling apart. Hold the plate firmly and do it all at once.
3. Serve quickly: Eat the nachos within 10 minutes. The longer they sit, the softer the chips get. Make sure everyone is ready before you flip them.
Delicious Variations to Try
Brisket Version: Replace BBQ chicken with slow-cooked brisket. The smoky, tender beef with melted cheese tastes amazing.
Chorizo & Egg: Use Mexican chorizo, cooked with scrambled eggs, for a breakfast nacho tower, perfect for a weekend brunch.
Vegetarian: Use black beans, roasted corn, sautéed bell peppers, and mushrooms instead of meat. It’s still hearty and filling.
Vegan: Use dairy-free cheese, plant-based queso, vegan sour cream, and pinto beans. The tower still looks great.
Gluten-Free: Most corn tortilla chips are gluten-free. Just check your BBQ sauce label to be sure.
Buffalo Chicken: Toss shredded chicken in buffalo sauce instead of BBQ. After flipping, add blue cheese crumbles and a drizzle of ranch on top.
What to Serve with Trash Can Nachos
I like to set out small bowls of extra toppings on the side. Options like hot sauce, more sour cream, and fresh pico de gallo let everyone add what they prefer.
A simple side salad with lime dressing balances the richness of the meal. Lime sparkling water is the obvious drink choice. If you are serving a crowd, offer two towers with different proteins. People enjoy having choices.
Storage Tips
To store nachos, let them cool completely, then put them in an airtight container. They will stay fresh in the fridge for 1 day. To reheat, spread the nachos on a baking sheet and warm them in a 350-degree oven for 5-7 minutes.
Avoid using the microwave, as it makes the chips soggy. For the best taste, enjoy nachos right after baking. Keep in mind that the stacked nachos do not travel well, so it’s best to make and serve them immediately.
Frequently Asked Questions
1. Are there shortcuts to make restaurant-style nachos at home?
Yes! Use rotisserie chicken with store-bought BBQ sauce. Buy pre-made guacamole and queso. Use canned beans. These shortcuts can save you time without losing much flavor.
2. How many servings does it make?
One standard can of nachos serves about 2-3 people as a main dish or 4-6 as a shared appetizer. For larger groups, make two or three cans. Each serving has approximately 620-780 calories.
3. Where can I buy Guy Fieri-approved sauces or kits?
Guy Fieri has his own brand, Flavor-town Kitchen, and sells sauces under the Guy Fieri Foods label. You can find his BBQ sauces and wing sauces at major grocery stores like Walmart, Kroger, and Target, or order them online through Amazon.
 Guy Fieri Inspired
Guy Fieri Trash Can Nachos
Make Guy Fieri Trash Can Nachos at home — layered BBQ chicken, pepperoni, beans & melted cheese packed into a can, then flipped into the ultimate nacho tower.
What You Need
Ingredients
- 1 bag (13 oz) Thick-cut tortilla chips — Mission or Tostitos Cantina Style recommended
- 3 cups Shredded Mexican cheese blend (cheddar + Monterey Jack)
- 1 cup Store-bought queso sauce (Tostitos or Ricos)
- 2 cups Shredded BBQ chicken, tossed in ¾ cup BBQ sauce
- ½ cup Turkey pepperoni, sliced
- 1 can (15 oz) Hickory baked beans (Bush’s Brown Sugar Hickory), drained slightly
- ⅓ cup Pickled jalapeños, sliced
- ½ cup Sour cream — for drizzling after the flip
- ½ cup Fresh pico de gallo or chunky salsa
- ½ cup Guacamole
- 2 tbsp Extra BBQ sauce or hot sauce to finish
- To taste Salt, garlic powder, smoked paprika (for seasoning the chicken)
Optional Drizzle
Finishing Sauces
- BBQ sauce — drizzle generously over the tower right after the flip
- Sour cream — squeeze from a bottle for even, clean coverage on top
- Hot sauce or sriracha — add right before serving for extra heat
- Ranch dressing — perfect pairing for the buffalo chicken variation
How to Make It
Step-by-Step Instructions
-
1
Season and Cook the Chicken
Season two chicken breasts with salt, garlic powder, and smoked paprika. Cook in a skillet over medium heat for 6–7 minutes per side until fully cooked. Rest for 5 minutes, shred with two forks, then toss with ¾ cup BBQ sauce. Set aside.
-
2
Prep All Toppings
Drain the baked beans slightly so they are not too wet. Slice fresh jalapeños if using. Open or prepare your pico de gallo. Set every topping out in small bowls before you start — this keeps the assembly fast and clean.
-
3
Prepare the Can
Wash and fully dry a clean galvanized metal pail or large tin can (6–8 inches tall). Optionally line the inside with a strip of foil for easy release. Place the can open-side-up on your large serving plate or board.
-
4
Build the First Layer
Add a generous handful of tortilla chips to the bottom of the can. Press lightly to settle them. Sprinkle a good handful of shredded cheese on top, then drizzle a spoonful of queso sauce over the cheese.
-
5
Add the Protein Layer
Spoon on a portion of shredded BBQ chicken. Scatter a few slices of turkey pepperoni. Add a spoonful of baked beans. Press everything down gently to compact the layer before moving on.
-
6
Repeat Until the Can Is Full
Keep repeating — chips, cheese, queso, chicken, pepperoni, beans — pressing gently after each round until the can is fully packed. End with a final chip layer on top. This chip layer becomes the base once flipped.
-
7
Optional: Pre-Melt the Cheese Layers
For extra gooey results, spread each cheese-topped chip layer on a baking sheet and broil at 425°F for 3–4 minutes before adding it to the can. This guarantees even melting all the way through the tower.
-
8
The Flip
Place a large serving plate firmly against the open top of the packed can. Hold both tightly with both hands. Flip in one confident, smooth motion. Slowly lift the can straight up — the nacho tower should hold its shape on the plate.
-
9
Finish and Serve Immediately
Drizzle sour cream and extra BBQ sauce over the top. Spoon on pico de gallo and guacamole. Scatter jalapeños on top. Add a splash of hot sauce if you like. Serve right away — best within 10 minutes of the flip.
This Guy Fieri Trash Can Nachos Recipe shows that great ideas can be simple. Stack layers of chips, meat, cheese, and beans to create something special. Using a can adds excitement without extra effort.
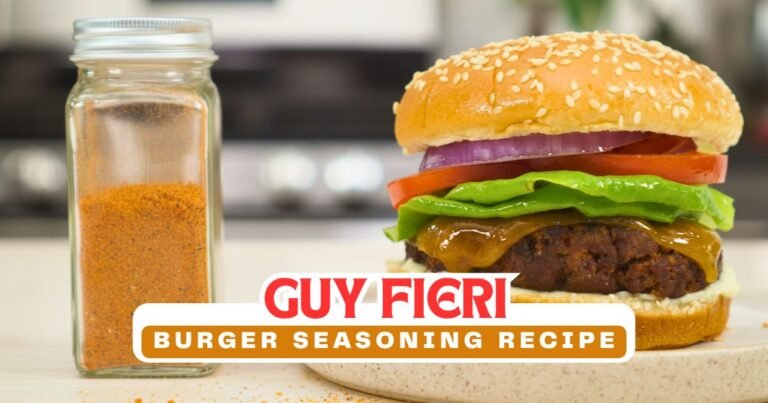
If you loved this recipe, check out the Guy Fieri Hamburger Recipe or the Perfect Burger Recipe for your next cookout.